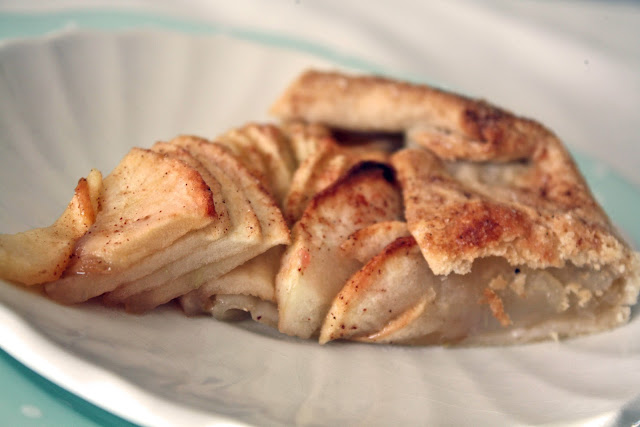
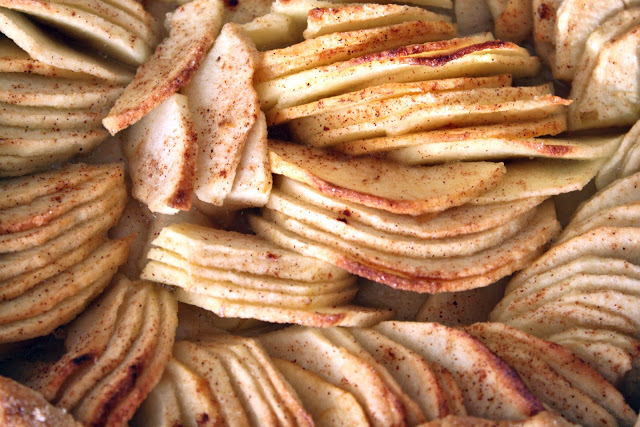
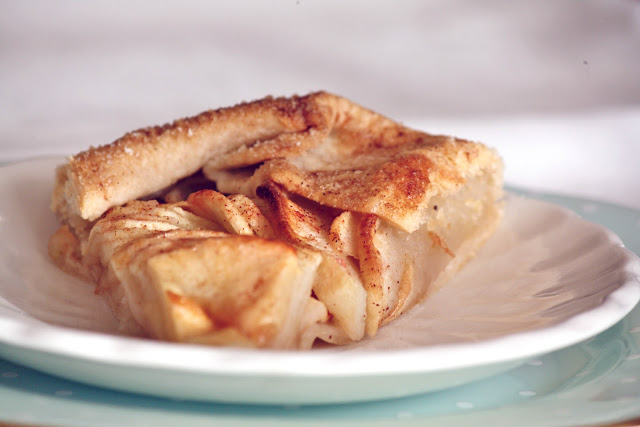
Holiday Snack (CRACK)ers
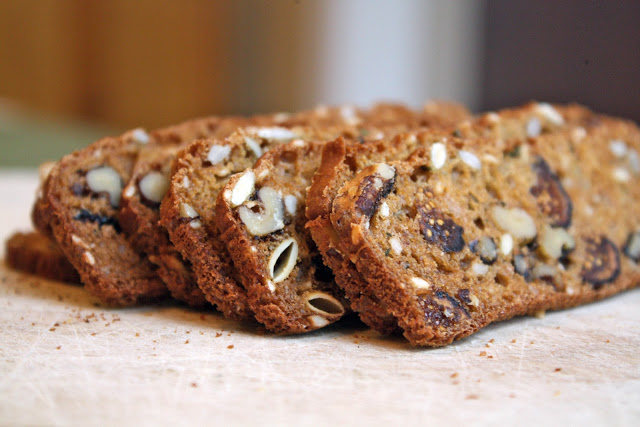
Do you know what these little morsels are? These are possibly some of the most uniquely flavored, amazingly textured, little biscuits I’ve had…ever. That’s why the are (crack)ers. They’re drugs in snack form. They’re addicting to the point where you can’t ever seem to stop yourself from going for another sweet and savory crunchy bite. Yet, believe it or not, this is one addiction that you won’t regret making. Because, despite the rich butteriness and the sweet, caramelized crispness of these crackers, they are VERY healthy. No fats and oils here. Just sweet dried figs, tons of nuts and seeds, woodsy rosemary, a dash of whole wheat, natural honey, and a lot of creamy, yet low-fat, buttermilk.

These crackers could possibly be a little bit of a lifesaver this Christmas season. Flavor-wise they are just as satisfying as the masses of cookies, sweets, and other naughty things you’ll be tempted with. Yet you will know that they are actually on the nice list. And with such a great crunch, they’ll be a real stress-reliever when the craziness of the holidays makes you feel like you could just…crack.
They are the easiest things to put together and the batter is pretty much assembled in one bowl. The whole process is a lot like making biscotti yet so much simpler and cleaner. The batter is split between two loaf pans and let to cook until golden and spongy. They cool completely, spend some time in the freezer to firm up and are then sliced into paper thin pieces before being toasted to nutty crispness in the oven.
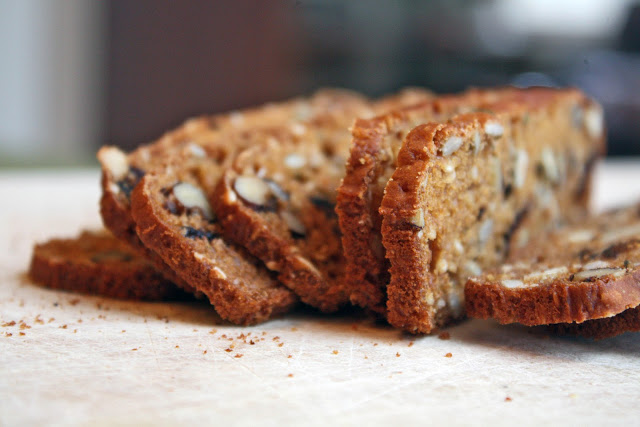
The flavor is a little hard to describe. They definitely have sweetness from the honey that becomes almost molasses-like is it caramelized with the toasting. They also have they unusual tanginess from all of the buttermilk. A rich buttery smell permeates the whole house as it cooks, which strangely actually comes from the rosemary. Though herby there is a caramel-like undertone. It’s a smell that is reminiscent of fireplaces, cool, snow-dusted forests, and sweet toffees. And finally, the extraordinary number of figs and nuts adds lots of texture layers and rich toasty flavors.


There is a lot of potential for ways to top these crackers. We enjoyed them with chesees of all sorts; sharp, aged cheddar cheese, brie, smoked gouda, or a simple smear of mascarpone. Though I’m sure there are so many other uses for these. In fact, I almost liked them best plain. I am also really interested in swapping out some other ingredients for other to make an apricot, pistachio, cardamom crackers or dried cherry, pecan, and thyme, maybe even candied orange, almond, and tarragon. The possibilities seem endless. I hope you try these out in your own home and even consider them as a nice gift along with some cheese and snack bowls.

Holiday Snack (CRACK)ers
Makes about 70 crackers
adapted very slightly from Seven Spoons
Note: It can be a little hard to tell when these are done toasting because they stay soft while in the oven and don’t crisp up completely until after cooling. So, I would start at 15 minutes per side and if they still seem a little softer after cooling, pop them back in the oven for five minutes at a time until they reach good crispiness. But be careful not to burn them! Also, if they start to get soft after a few days form air moisture (if they last that long) you can again place them back in a 250 degree oven for 5-7 minutes, let them cool, and they will be perfect again.
Ingredients
½ cup chopped walnuts
¼ cup pepitas (pumpkin seeds)
1½ cups all-purpose flour
½ cup whole-wheat flour
2 tsp. baking soda
1½ tsp salt
2 cups buttermilk
¼ cup brown sugar
¼ cup light honey
1 cup chopped dried figs
¼ cup shelled sunflower seeds
¼ sesame seeds
1½ tsp finely chopped rosemary
Preheat the oven for 350 degrees and grease two 9 by 5 inch loaf pans with butter or cooking spray.
Place the walnut pieces and the pepitas on a baking sheet and toast in the oven for 10 minutes. Set aside to cool.
In a large mixing bowl, combine the flours, baking soda and salt. Add in the brown sugar, honey, and buttermilk and stir with a wooden spoon until just combined. Add the toasted nuts and the rest of the ingredients and stir to mix them in.
Divide between the two pans and bake about 35-40 minutes until golden and the top springs right back when you lightly poke it. Remove from the pans and leave to cool. Once fully cooled, wrap them up well and place them in the freezer until firm. This makes it much easier to slice and actually, it lets you slice up however many crackers you want to make at a time and leave the rest of the loaf in the freezer for later.
For the toasting, heat the oven to 300 degrees. Slice the frozen loaves into ¼ inch (or even a little less if you can) pieces and place them in one layer on a cookie sheet. Bake them for 15 minutes on one side, flip the crackers over, and then 15 minutes on the other side. Cook on a wire rack. Again, if they are too soft, continue to toast at 5-minute intervals until very crunchy.