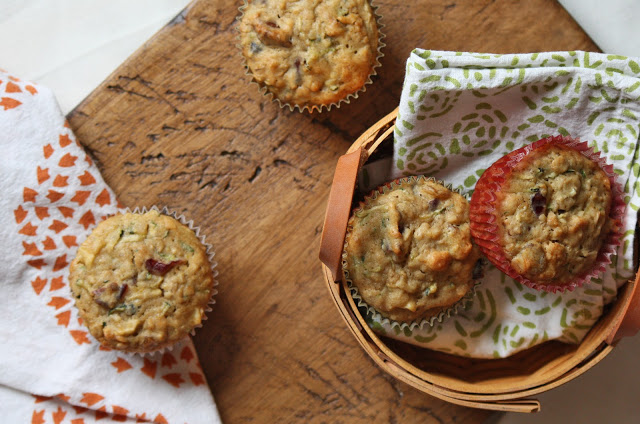
Summer Vegetable Tart
For almost a year now I’ve been taking part in Meatless Monday. I think I originally heard about it from an article about how Mario Batali made all of his restaurants have meatless menus on Mondays but regardless it instantly became something I wanted to do. I know for a fact that I would never totally convert to vegetarianism. And it’s not just because I like the taste of a nice juicy hamburger (though that plays a rather large part) but I think I really feel better when I eat meat in moderation.
About a year and a half ago when I was living on my college campus right after my study abroad in London ended, I did not eat very much meat. For one, the meat at our dining halls was highly dubious and I refused to touch it. Secondly, I had been reading and watching a lot of documentaries at that time about the meat industry and the treatment of these feedlot animals. You could call it my 3-month animal rights stage I guess. But I realized that without that high dose of protein in my meals I would feel sluggish and tired. I needed that steak, that chicken, that pork chop. I guess I quickly got over my activist stint and got right back to consuming the stuff but this time with a new awareness and sense of selectivity. I ate a lot more local, organic, grass-fed and humanely treated meat. It tasted so much better and despite its much higher cost, I didn’t mind because I knew it was the right thing for the environment and me.

Now, I am a bit more lenient and less particular but I have made a conscious effort to go at least one day a week (it usually ends up being about 3) without meat. It’s amazing to read the statistics about the difference we as Americans can make if we just cut out meat one day a week. The more people that take part in Meatless Monday the less health problems we will have with our bodies and the less greenhouse gasses, fuel waste, and so many more problems we will have on this earth. Sorry if I sound a little soapbox-ish here but I think it’s a simple thing that is easy for everyone to try.
I am lucky that the restaurant if work at is closed on Mondays and I can spend the day planning out a good meatless meal for that evening. And I’ve surprised not only my family but also myself at the variety and deliciousness I can achieve. I’ve made “hamburgers” out of brown rice, olives, and pecorino cheese, a Mexican lasagne out of tortillas, garden vegetables, ricotta, and salsa, baked white beans, and of course a number of egg dishes.

A few weeks ago I made this awesome quiche/tart. It’s a good way to use up some extra zucchini we all have laying around and it all comes together quite easily. You can wash up while it bakes in the oven with time leftover to relax and read a bit while it finishes off. I can imagine you could also make it ahead of time too. The crust may be a little softer but you could certainly revive it some in the oven. I had a slice the next day for lunch and I just heated it in the microwave…it was still awesome. With a dish like this and a nice salad on the side (or the chilled dressed green beans I made, recipe below) you should have no problems sticking to Meatless Monday at all.

Summer Vegetable Tart
adapted from New York Times
serves 4-6
Ingredients
1 sheet of puff pastry, thawed
2 Tbs olive oil
1 pound Swiss chard
1 medium onion, finely chopped
1 medium zucchini, chopped
1 tsp chopped thyme leaves
1 tsp chopped rosemary
4 eggs
½ cup tightly packed shredded cheddar cheese
¼ cup plain yogurt
¼ cup milk
salt and pepper to taste
preheat the oven to 375 degrees. Roll out your puff pastry on a lightly floured surface until 2 inches larger in diameter than your tart pan on all sides. Place the pastry over the pan and press into the pan along the bottom and up the sides. Cut off the excess and discard or reserve for another use. Prick the dough on the bottom of the pan with a fork and place in the refrigerator until ready to use.
In a large skillet, heat the olive oil over medium heat. Separate the Swiss chard leaves and stems. Finely chop the stems and give the leaves a rough chop. Add the chard stems and the onion to the skillet. Season with salt and cook, stirring occasionally, for 5 minutes. Add the zucchini and cook another 10 minutes until the zucchini is soft. Add the rosemary and thyme, stir, and add in the chard leaves. Continue to cook and stir until the leaves are wilted and tender, about 3 more minutes. Remove form heat and set aside.
Crack the eggs into a mixing bowl and whisk well. Add the cheese, yogurt, and milk (if you don’t have yogurt on hand just add ½ cup milk) and whisk to combine. Add the cooked vegetables to the egg mixture, season with salt and pepper, and stir well. Pour the filling into the chilled puff pastry. Spread the filling even with the spatula and bake for 45 to 50 minutes until firm and golden. Allow the tart to cool for at least 15-20 minutes before eating. Can also be served at room temperature.
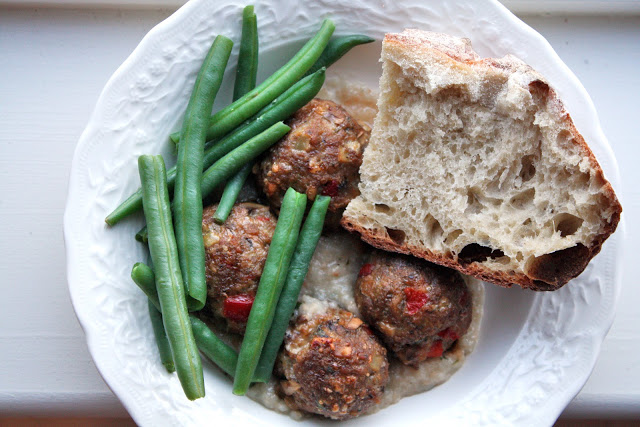
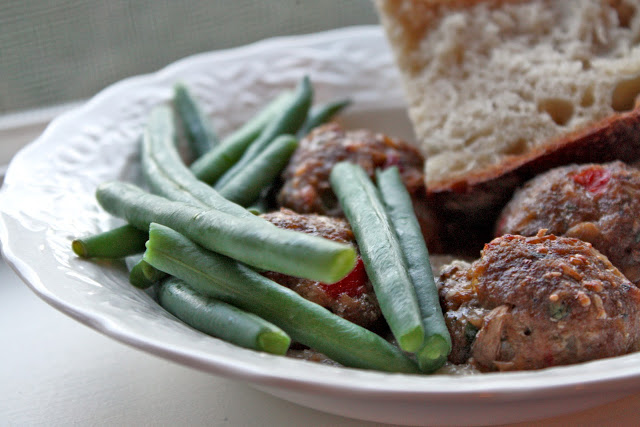
Dressed French Beans
recipe from Jamie’s Dinners by Jamie Oliver
Ingredients
4 giant handfuls of washed French beans, with the ends snapped off
2 heaped tsp Dijon mustard
2 Tbs white wine vinegar
7 Tbs extra virgin olive oil
salt and pepper
1 Tbs capers (optional)
Bring a large pan of water to a rapid boil. Toss in the beans, stir, and cover until the water returns to a boil. Remove the lid and cook for 4-5 minutes. Meanwhile prepare a large bowl of ice water. Once the beans are cooked, quickly drain them in a colander and transfer the drained beans to the ice water to cool and stop cooking. Once cool drain them again and set aside to dry some. Meanwhile add the mustard, vinegar, oil, salt, pepper, and capers, if using, to an old jam jar, pop on the lid, and shake until well combined. Alternately you could whisk together in a bowl. Place the beans in a large serving bowl and pour over the dressing. Mix well to dress the beans. Serve immediately or place in the refrigerator until ready to eat. Remove from the fridge about 30 minutes before eating to allow the beans to come to room temperature.