
The Wild and Wonderful World of Kombucha
If you have known me at any point in the last few years, you have more likely than not been on the receiving end of a lengthy one-way discussion where I force you to learn about brewing kombucha. I probably tricked you into trying it too. Thank you to you all for putting up with it. I am not sorry at all. But if you have not, it is finally your lucky day! After having started up the brewing process yet again about 2 weeks ago, I have now once and for all documented my strange, nerdy hobby.
It all began when Sarah from The Yellow House gave me my first culture, a piece of her own, to start brewing for myself. I fell in love with the process instantly and have been brewing on and off ever since. It’s one of the simplest fermentation projects you can take on with quick and delicious results but first, let’s step back and talk about what kombucha is in the first place.
In short, it’s a fermented fizzy tea drink known for its probiotic properties. In order to brew your own, you need a starter culture, which is known as the “mother” or a “SCOBY”, meaning Symbiotic Colony of Bacteria and Yeast. This cellulose mass may not be the most attractive thing in your kitchen and admittedly it’s difficult at first to trust any drink that’s been floating around with a SCOBY for a week, but once you get over that you can start to enjoy the wonderful aspects of kombucha.
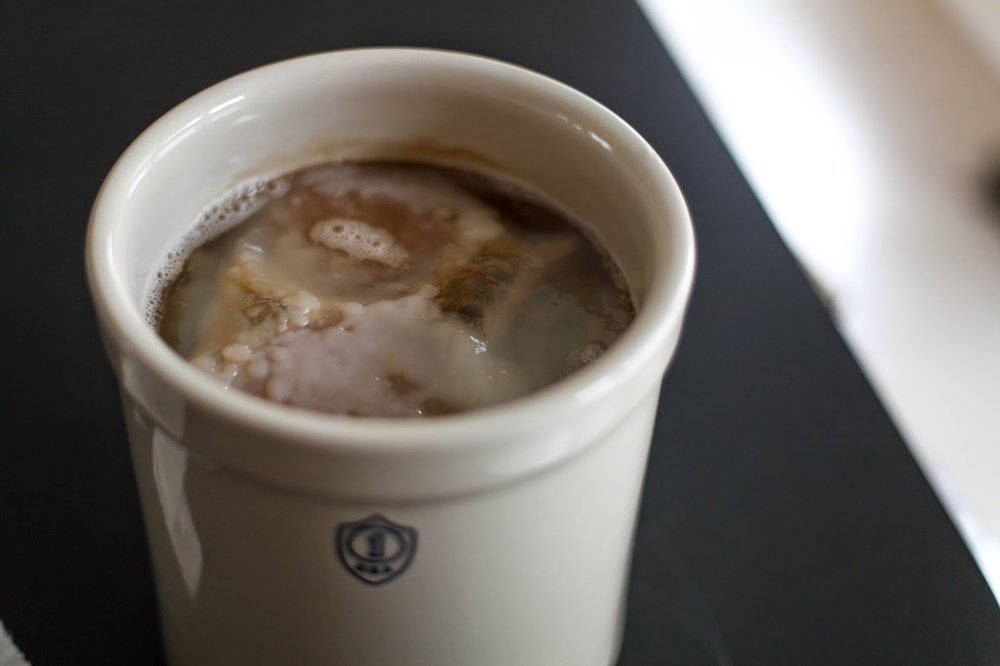

So when a SCOBY is combined with sweetened black tea, multiple processes take place. The yeast first starts to consume the sugar, creating a byproduct of carbon dioxide (fizziness) and alcohol. The bacteria then ferments the alcohol, creating acetic acid, giving the resulting kombucha that tangy, vinegar-like taste. All the while probiotics begin to inhabit the liquid and the living SCOBY begins to grow, taking on the shape of its container and developing another cellulose layer with every batch made. And eventually, once it gets large enough, you can peel off the bottom layers and pass them along to a friend who may also want to make kombucha. You can also compost them. This unending cycle of fermentation makes for a constant supply of this sweet and sour drink for as long as you continue to take care of your culture.

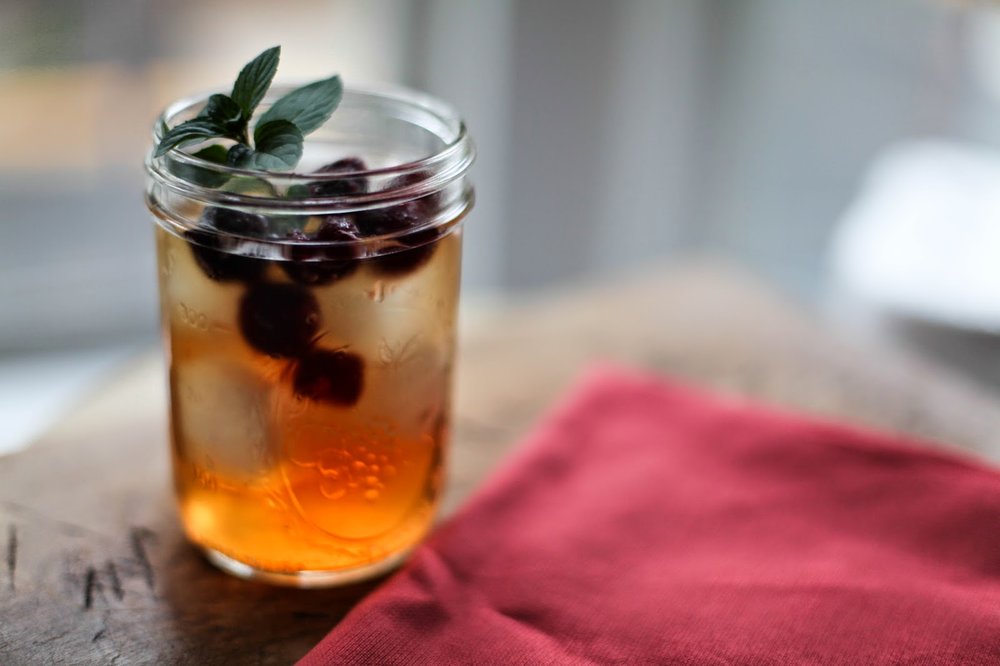
Although it took a few times to get used to the system of bottling my fermented kombucha and preparing a new batch, it soon became a part of my weekly routine. After a week of fermenting, I like to store my finished kombucha in the fridge, which stops the fermentation process and keeps the finished product at a mildly tangy level. I bring an iced glass to work each day and will add some fresh juice, fresh fruit, and/or some herbs to the glass for a little extra flavor. I purchased my most recent SCOBY from Kombucha Brooklyn and it has been doing great. Currently I’m in the process of trying to name it and so far my roommates have helped me come up with Scoby Dooby Doo, Scoby Wan Kenobi, and Scoby Bryant. I haven’t decided which I like best…
Kombucha Brooklyn has wonderful kits with all of the supplies and instructions needed for getting started. But, if you just so happen to have a nice friend to pass along a piece of SCOBY and all of the necessary materials, here’s how you can start brewing kombucha yourself.

How to Make Kombucha
Materials Needed
1 SCOBY, plus 2 cups of already-made kombucha from a previous batch, or store-bought if just beginning
8 teabags (Kombucha needs black tea to survive. I personally like Darjeeling but standard black or oolong would work as well. You can swap out one or two of the bags with a green or herbal tea if you want to mix up the flavor, but would not suggest any tea with essential oils like earl grey.)
1 cup white granulated sugar
1 gallon (16 cups) water
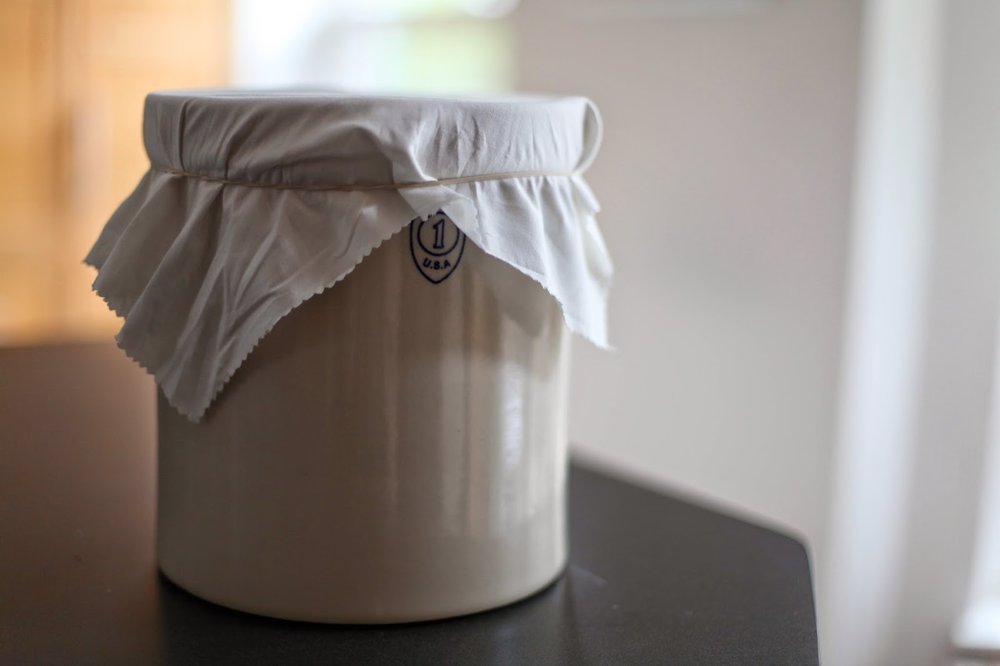
a 1-gallon glass container or ceramic crock
a thin cotton cloth
a rubber band
a funnel
growlers or a pitcher for storage
Instructions
Begin by bringing 4 cups of the water to a boil in a large pot. Once boiling, turn off the heat and add the teabags. Let steep for 30 minutes. Once brewed, squeeze out as much liquid as possible from the teabags and discard. Add the sugar and stir until dissolved. Add in 8 more cups of water to bring the mixture to room temperature. Transfer to your gallon-size brewing receptacle.
Add the SCOBY to the jar with the tea as well as the already-made kombucha. Add in more water until you have an inch and a half of space between the liquid and the lip of the jar. Drape your cloth over the top and secure with the rubberband.
Place the jar in a non-disruptive place in your home (mind you there will be a faint smell of vinegar around the jar at all times) and let the mixture brew for a week. After the week is up, the kombucha is ready and can be bottled. Remove the SCOBY and place on a plate. Transfer the liquid from the jar to your pitcher or growler with a funnel, setting aside another 2 cups for the next batch. Wash all of your brewing materials and begin the process again!