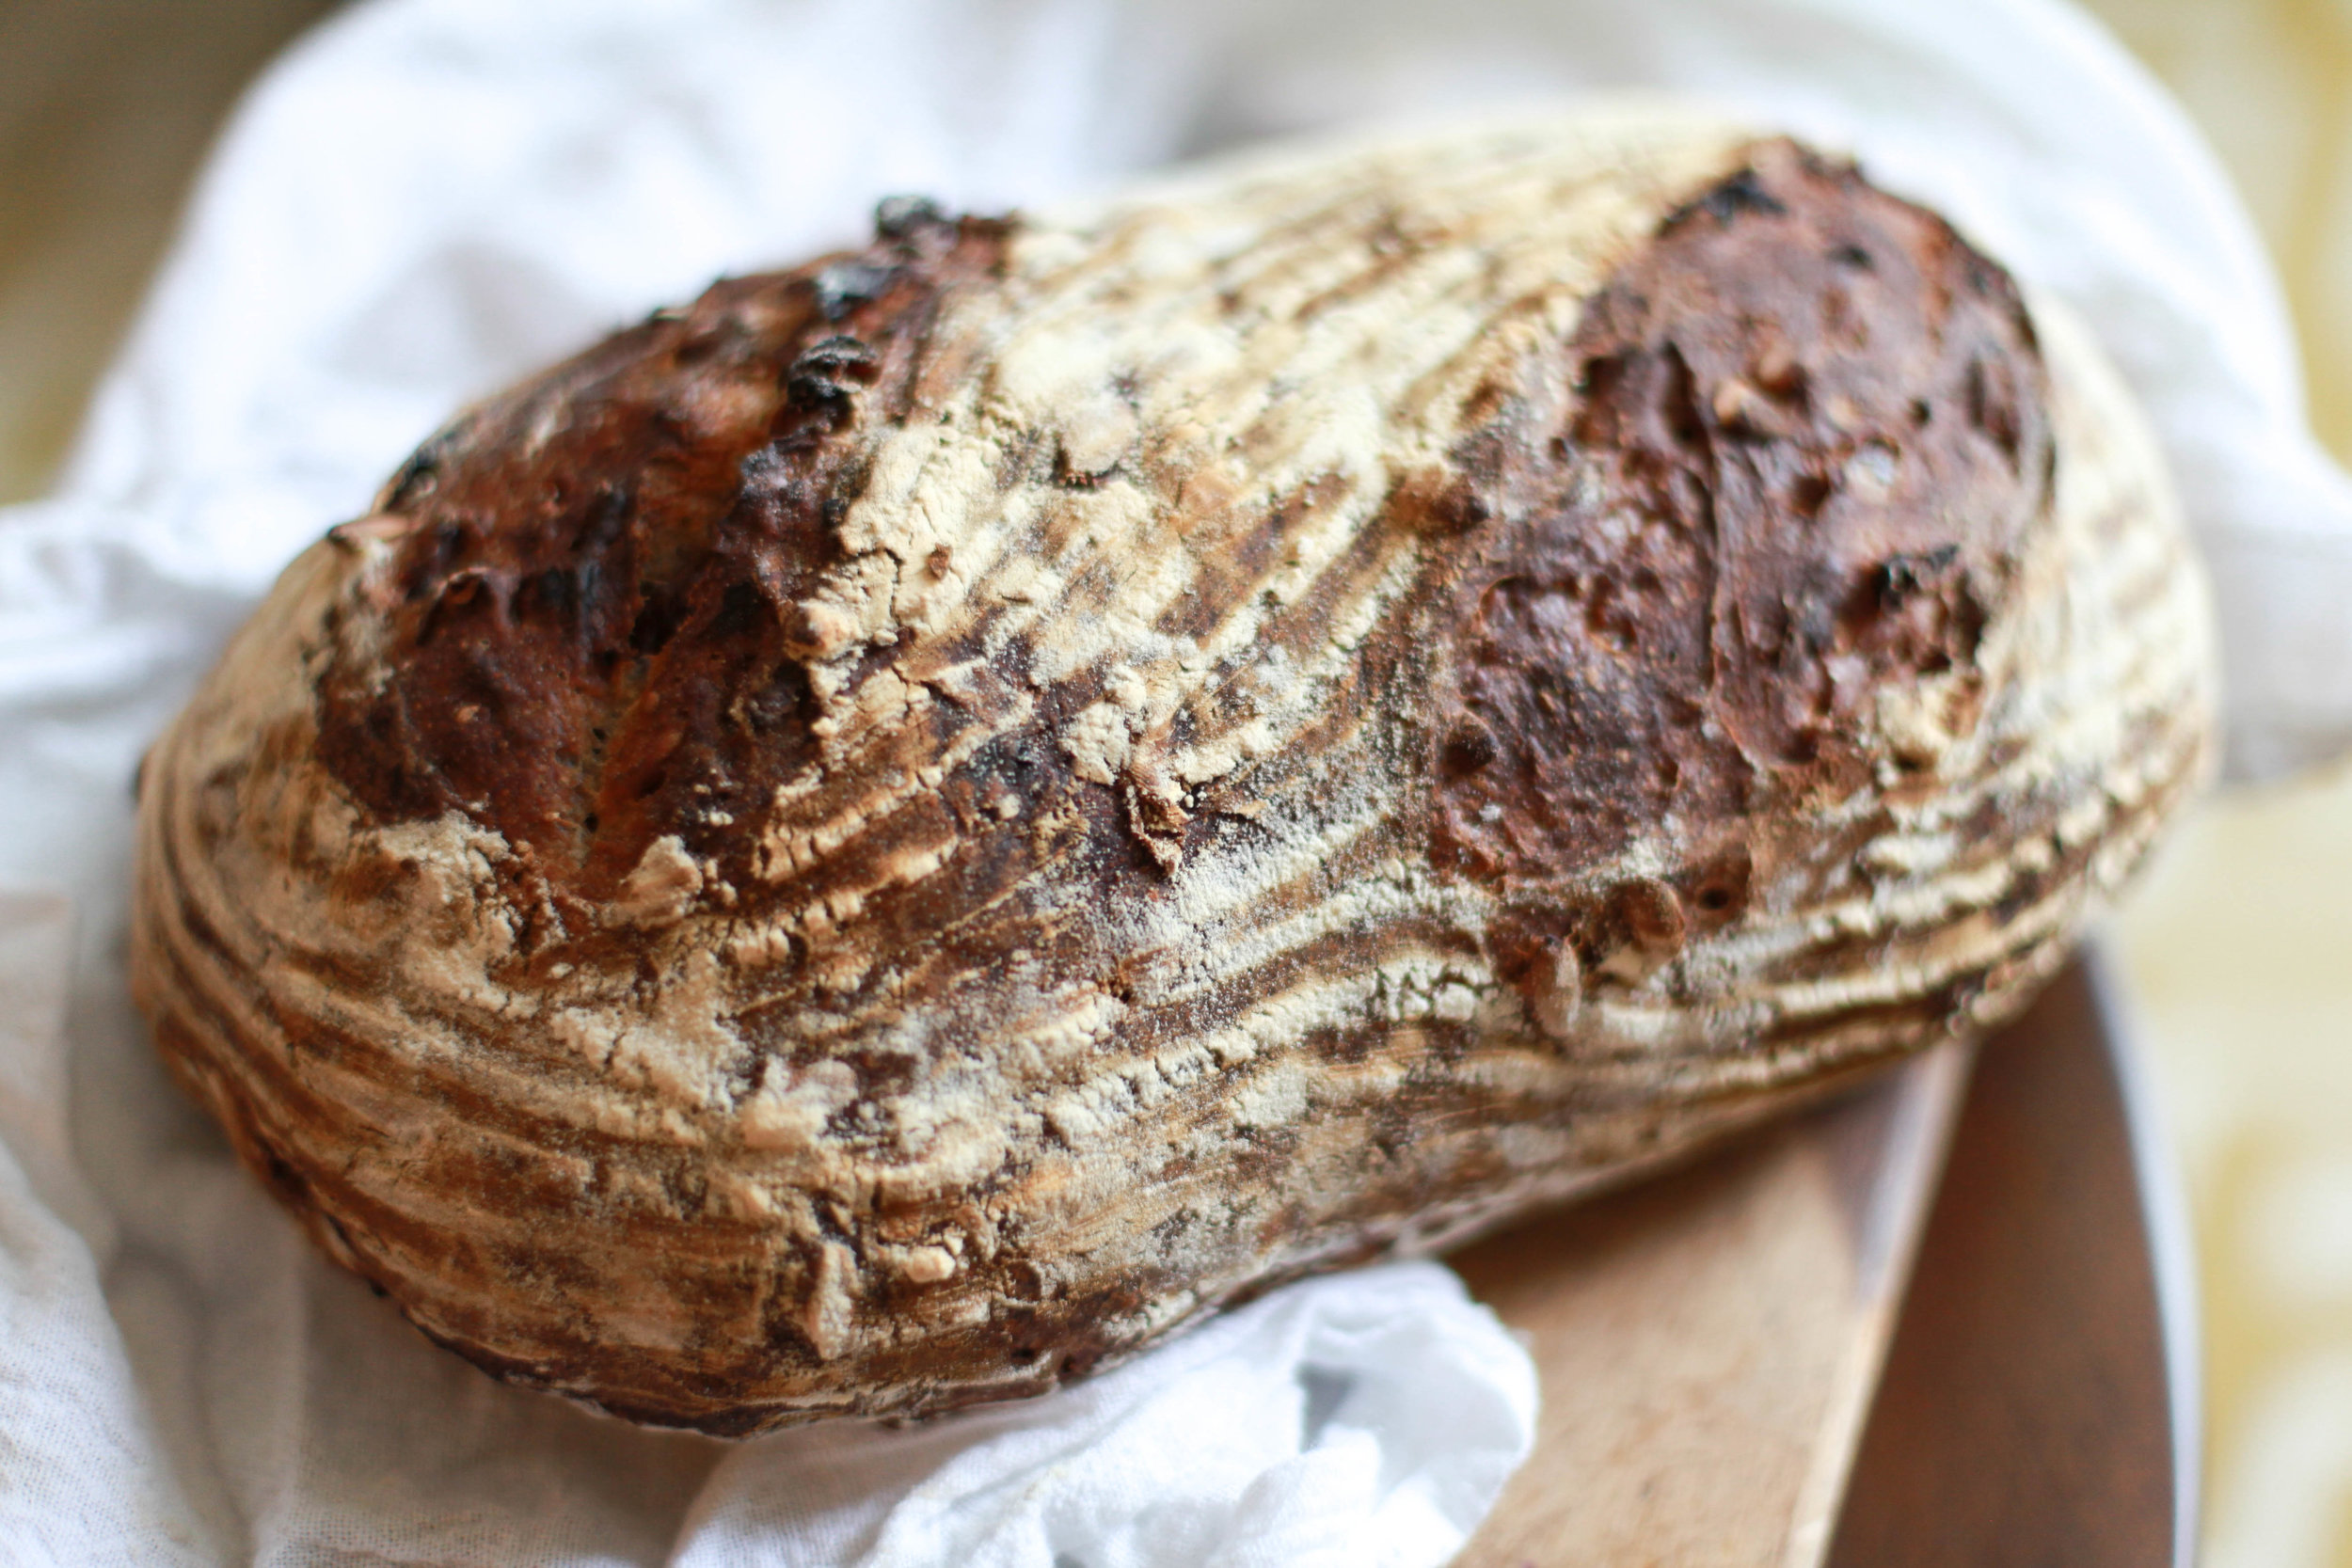
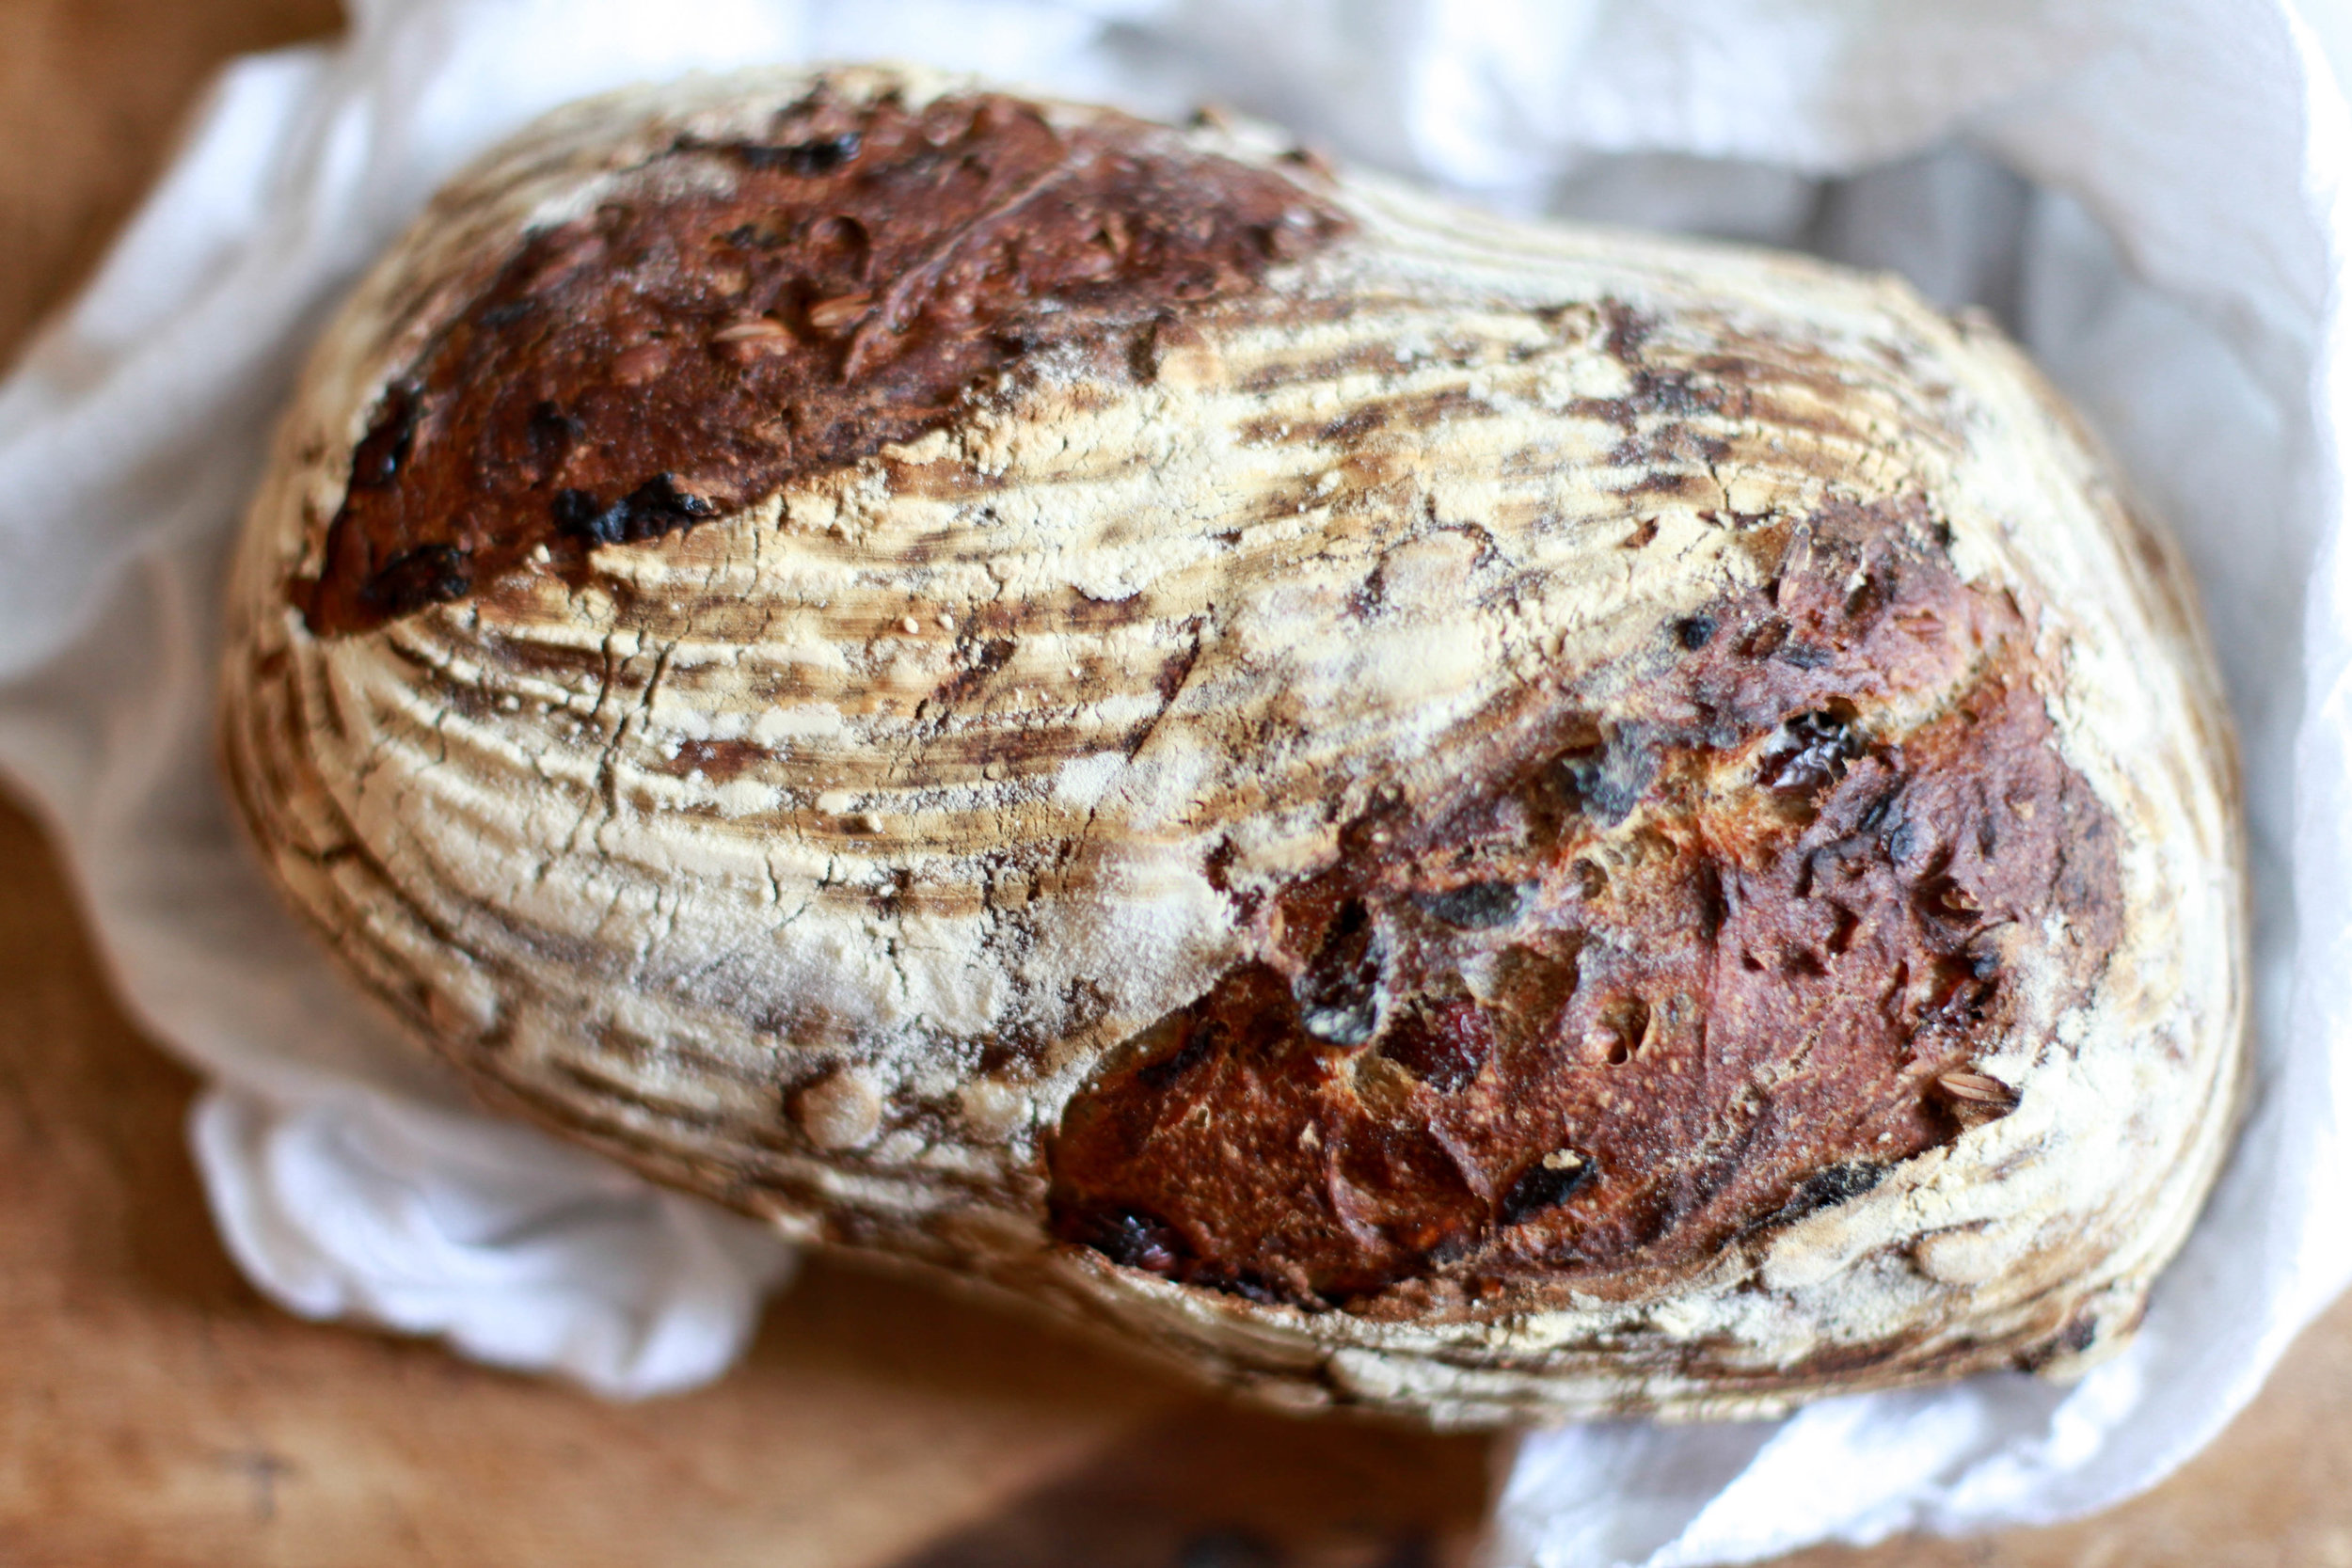
Buckwheat Sourdough with Cranberries and Pepitas
It’s interesting to look at life as a series of many miniature life cycles, to categorize different parts of it into eras or stages. We base these on bigger life events like where we are living, who we are spending out time with, etc., and it seems that as each of these comes to a close I find myself reflecting on them, wondering how it is I got there in my movement from one to the next.
At this time my “living on my own” phase is 2 weeks from its end. It’s been wonderful and gave me such sense of independence but sadly in the D.C. area it’s a luxury that came at the cost of actually going nearly broke. It’s a shitty feeling, I’ve got to say, and not exactly the way I’d like to leave a part of my life behind but you live and you learn and I guess I learned the hard way this time. On the bright side, I’ve lucked my way into what seems like will be a pretty sweet townhouse and roomie situation though, complete with giant community pool, so it could all be going much much worse. Plus, this also coincides with what I hope will be the beginning of another sort of new era for my health (read my article here for details) so I’m actually feeling pretty good about life right now.
In the meantime, we’ll talk about bread, for bread is life after all, right?As things shift towards a new cycle, I’ve also been experimenting with making my own sourdough bread, another living thing that will have its own series of mini lives, some as short as a day, throughout its eternity. As one life ends and another begins, it takes a part of its past with it, a culmination of particles from every single time before just as we bring with us our experiences and learnings with us. Maybe it is just coincidental but I like to think that this cyclical yet expansion/growth symbolism of my new hobby is my way of projecting change in my own life. Hopefully it will have the same fruitful ends as the sourdough starter. Time will tell.
I’m shameless in saying that the sourdough thing has already become an obsession and I have more loaves shoved in my freezer than I know what to do with. But I guess you have to practice a new technique to get the hang of it. Luckily, having interned in the art of bread baking with a pastry chef and having read several books on the science of bread during a time when I almost moved to Charlottesville to work the nightshift as a bread lady, it’s a skill that comes easily. That’s how after making my starter, reading Josey Baker Bread, and whipping up a few plain versions of his traditional hearth sourdough, I found myself already getting a little ambitious. Thus, buckwheat sourdough with cranberries and toasted pepitas.
Now, be patient as I go through the steps here. It’s a complicated process but at least one that requires very little active time. If you’re starting without a starter, you will need to add 2 weeks onto this as well. Sorry, but that’s just how it works. Or maybe you can ask around and find someone or a bakery that can share theirs with you! So read carefully, maybe several times through, be patient and enjoy this process and the magic that seems to make sheer flour and water come to life with wild yeast because, as they say, good things come to those who wait.
Sourdough Starter
Day 1
Mix together ¾ cup unsweetened pineapple juice and ½ cup bread flour. Cover and set aside.
Day 2
Add to this mixture ½ cup pineapple juice and ½ cup bread flour. Cover and set aside for another 24 hours.
Day 3
In a clean bowl or container with plenty of extra room, add ½ cup of the pineapple/flour mixture with ½ cup filtered water and ¾ cup whole-wheat flour. Mix well, cover, and let ferment overnight.
Days 4-14
Continue the steps of “Day 3” each day, mixing together ½ cup of the existing mixture in a new clean container with an additional ½ cup filtered water and ¾ cup whole-wheat flour. You can throw away whatever is left of the previous day’s mixture. Over time the starter will become more and move active, creating lots of bubbles and giving off a nice boozy smell. Each time you add the new ingredients to the existing, this is called “feeding your starter.” By the end of 2 weeks, you should have cultivated enough wild yeast that it is ready for using in a loaf of bread.
Note: It is best to use starter that is at least 12 hours post-feeding for baking. Also at this point, you can start storing it in the fridge while not using where it will remain dormant. Just make sure you don’t put it in the refrigerator until it has a chance to ferment, ideally 12 hours after feeding. To use again, remove from the fridge and let sit at room temperature for 12 hours then feed your starter. It should become active pretty quickly. Ideally you will do this a few days before baking and then you can go back to storing the starter in the refrigerator until ready to bake again.
Buckwheat Sourdough with Cranberries and Toasted Pepitas
Makes 1 loaf of bread
Adapted from Josey Baker Bread
Ingredients
For the pre-ferment (essentially a small amount of dough that ferments before being added to a larger amount of dough)
1 Tbsp. sourdough starter
120 grams cool water
105 grams whole-wheat flour
For the dough
The entire pre-ferment
240 grams lukewarm water
345 grams bread flour
30 grams buckwheat flour
2 tsp salt
½ cup dried cranberries
½ toasted, unsalted pepitas
Make your pre-ferment by mixing up the ingredients in a bowl and covering. Set aside for 12 hours in a cool place.
2 hours before mixing your dough together, combine the pepitas and cranberries in a bowl and cover with hot water. This will hydrate them so they don’t steal moisture from your bread dough.
In a large bowl, combine the pre-ferment, the water, bread flour, buckwheat flour, and salt. Drain your fruit and seeds and add these in as well. Using your hands, mix together the dough for 2-3 minutes pulling up on it from the sides and pushing it down into the center, making sure you are rotating the bowl a little each time. The dough will be sticky and that’s ok.
Cover and let sit for 30 minutes. After it sits, knead the dough in the bowl again by wetting your hand and continuing this process of pulling up on the dough and pushing it back down for another minute. Cover and let rest for another 30 minutes. Knead the dough like this 2 more times, each with a 30-minute break in between.
After the 4th kneading, it’s time for the dough to proof. Cover the bowl and set aside until the dough rises by half. This will take 2-3 hours at room temperature or 12-48 in the fridge if you need to hold off for a while. After it has risen, it is time to shape the dough.
Transfer to a floured surface and using floured hands, pull the edges gently up and to the center so that the dough is rounded and there is a seam at the top holding those edges together. Flip over so that it’s seam side is down and let rest for 10 minutes. While you wait prepare your proofing basket by dusting with flour or line a bowl with a clean cotton cloth and liberally flour the cloth. Flip your dough back over, dust with a little flour, and gently stretch into a small square-ish shape. Take the top two corners and fold them 2/3 down. Take the bottom two corners and fold them 2/3 up. Give the dough a 90 degree turn and then working from top to bottom, roll up the dough into a ball and place it in your proofing basket or cloth-lined bowl seam side up. Cover and let rise at room temperature for 3 hours or in the refrigerator for 6-24, making sure you bring it back to room temp before baking.
45 minutes before baking, preheat the oven to 475 degrees with a baking stone or steel inside on the center rack. 5 minutes before baking, place an empty sheet tray on the rack right below and prepare a cup or two of cool water. Invert your loaf onto a well-floured pizza peel. Slash the top with a razor blade and slide it onto your baking stone or steel and quickly pour the water into the hot sheet tray underneath to create a nice steamy environment. Shut the oven door quickly. Bake for 25-30 minutes until it's a nice rich brown.
Once baked, transfer to a cooling rack and let cool for at least an hour before slicing and enjoying the fruits of your labor.


