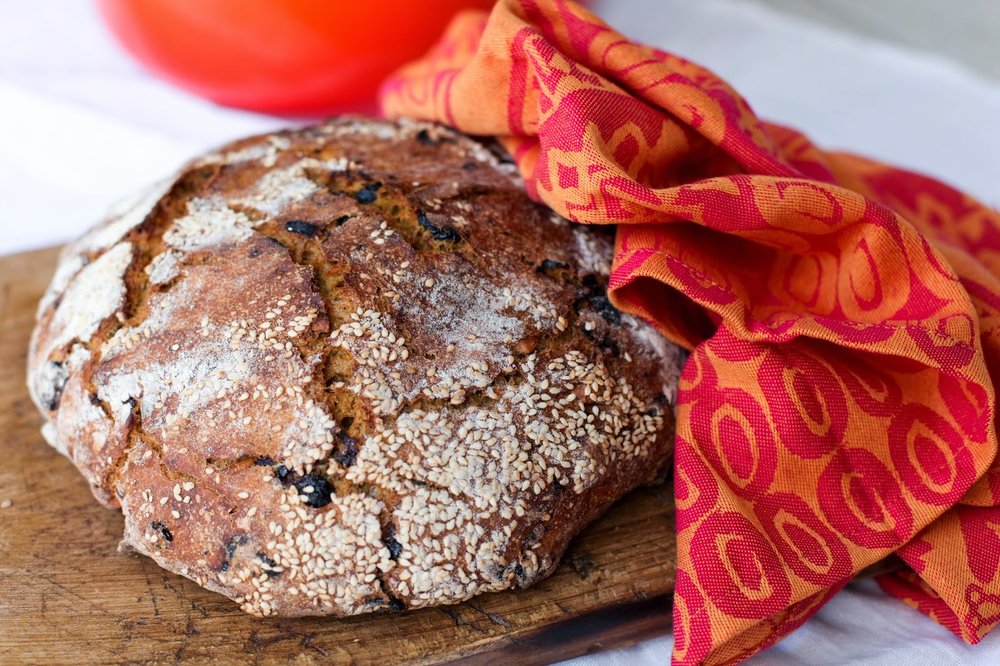
Chocolate Krantz Cake
Sitting at home, in the middle of a Tuesday afternoon, I am in the midst of what is my third bout of illness within a two-month period. This most recent is believed to have been picked-up in the gym somewhere – so much for trying to get back into healthy habits.
With that being said, my winter days of late have been filled with more soups that I really care to recount at this point since they are all starting to taste the same. Instead I want to tell you about a wonderful chocolate bread/cake I made a month ago for Christmas, a newer holiday tradition in the family. I would kill for a piece of it right now but the effort required to make it is probably about 25 times more than what I have available at the moment so I’ll make do with dreaming about it over the next few episodes of Serial. Sigh.

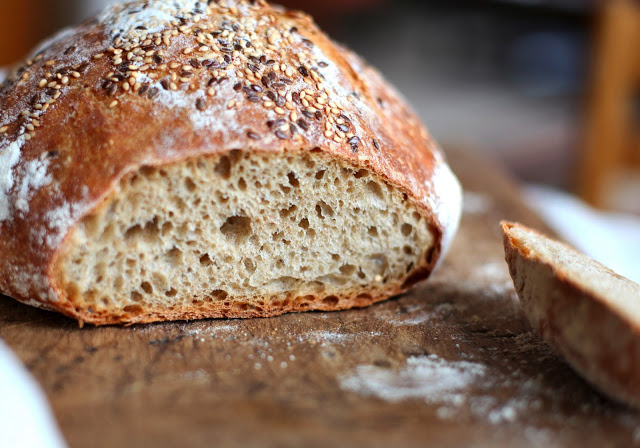
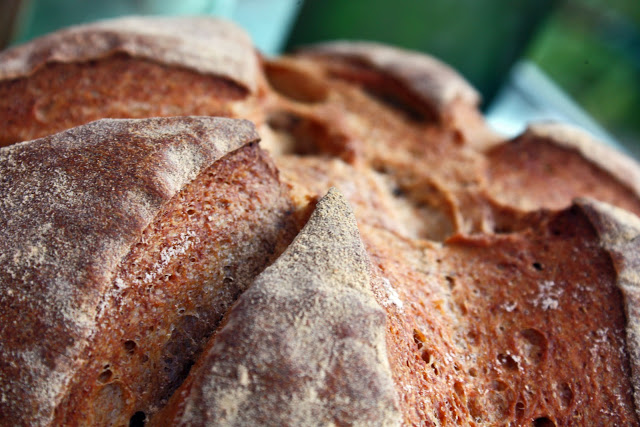
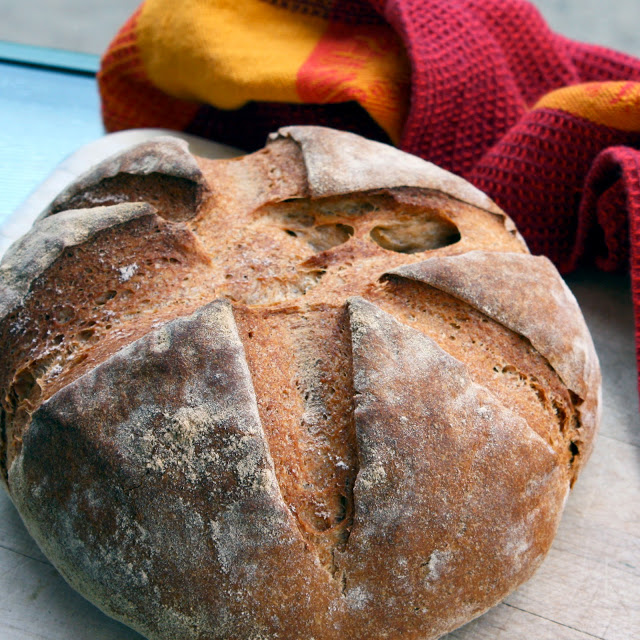
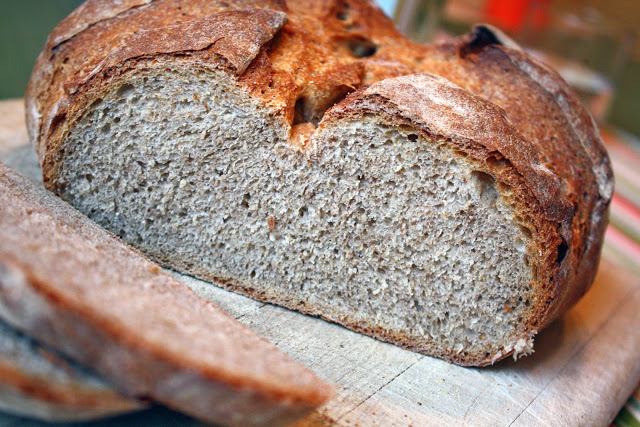
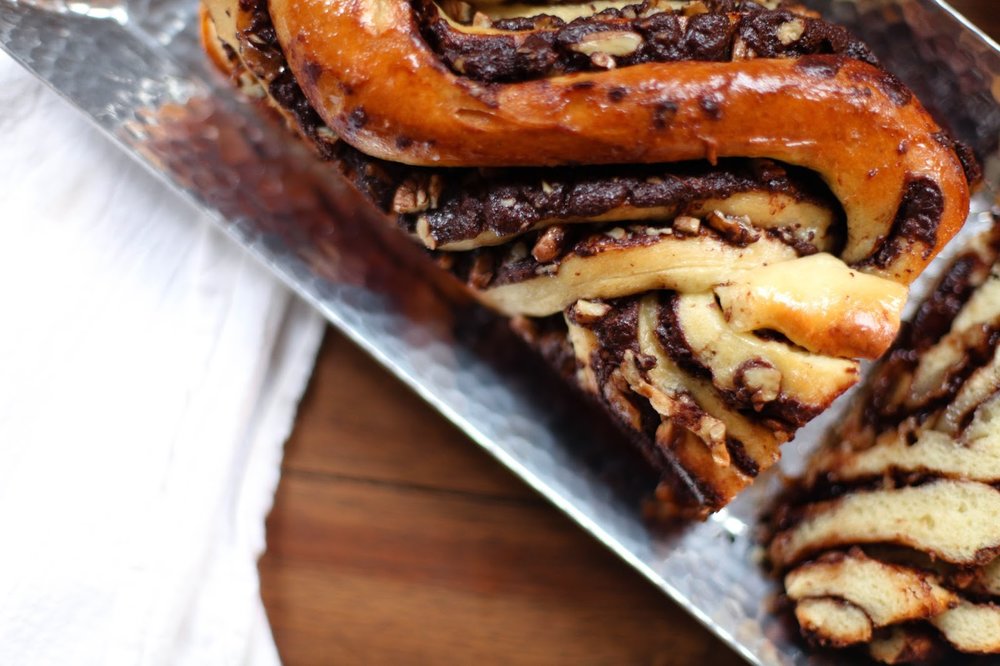
But anyway, let’s talk about chocolate krantz cake. The recipe comes from Yotam Ottolenghi’s Jerusalem. It’s the only recipe I have made from the book (which I’ve had for about 2 years) but this recipe alone makes having the hard copy worth it. It starts out like a recipe for brioche but then the dough is filled with a thick chocolate paste, shaped into a braid, and, once baked, is doused in a sweet syrup. The result straddles the fine line between bread and cake. The syrup fuses with the chocolate filling, turning it into something kind of resembling chocolate frosting. It’s definitely sweet, but not cloyingly so. But the bread dough gives it a little more heft than a cake, therefore making it much more justifiable as breakfast food or an afternoon snack. But it works just as well as dessert too.
Better yet, the bread keeps wonderfully, which is nice considering that it takes a decent amount of time (2 days!) and effort to make. Can’t lie to you about that but, trust me, it’s worth it. I was still eating slices about 5 or 6 days after making it and they were just as good, if not better, with age. Cooled fresh loaves can also be wrapped tightly in foil and tucked into a plastic bag and frozen for a few months.

Perhaps this may not be quite the right recipe for all of the January gym-goers – because you are either being healthy or are also suffering the gym plague like me – but just you wait. Some day this winter the weather man is going to tell you all about an impending storm and if you plan it just right and start the night before, you’ll be pulling hot krantz cake out of the oven on your snow day. And I can’t imagine too many things nicer than that.
Chocolate Krantz Cake
From Yotam Ottolenghi’s Jerusalem
Make 2 loaves
Please note that you must start preparing the cakes the night before you wish to bake them. Though the cakes themselves don’t take too much time for the physical construction, there is a lot of idle time. But, as mentioned above, it’s well worth the wait.
Ingredients
For the dough
4¼ cups all-purpose flour
½ cup sugar
2 tsp fast-rising active dry yeast
zest of a small lemon
3 eggs
½ cup water
¼ tsp. salt
2/3 cup room-temperature unsalted butter, cut into cubes
unflavored oil, for greasing
For the chocolate filling
½ cup powdered sugar
1/3 cup dutch-process cocoa powder
4½ oz melted dark chocolate
½ cup melted unsalted butter
1 cup coarsely chopped pecans
2 Tbs. sugar
For the syrup
2/3 cup water
1¼ cups sugar
Begin by making the dough. Place the flour, sugar, yeast, and lemon zest in the bowl of a stand mixer with the dough hook attached. Mix for about a minute to combine. Add the eggs and the water. Slowly increase the speed to medium and let mix for about 3 minutes, stopping the mixer as needed and pushing some of the flour into the center of the bowl until the minute comes together. With the mixer still on medium, add the salt and then the butter, a few cubes at a time, until all are added. Keep the mixer going for about another 10 minutes, scraping down the sides of the bowl periodically and adding a bit more flour if it doesn’t seem to want to form into a ball.
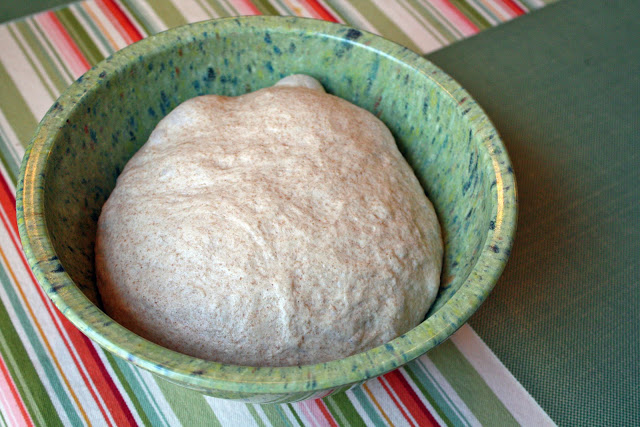
When the dough it ready, it will have formed into a ball and be smooth and shiny and elastic. Place it in a bowl brushed with a little bit of oil to keep it from sticking. Cover the bowl with plastic, and place in the refrigerator overnight.
The next day, you can assemble and bake the cakes. Begin by greasing two 9x4 inch loaf pans and line them with parchment paper. Set aside. Then make the chocolate filling by combining the powdered sugar, cocoa powder, melted chocolate, and melted butter in a bowl until you have a smooth, spreadable paste. Also set aside.
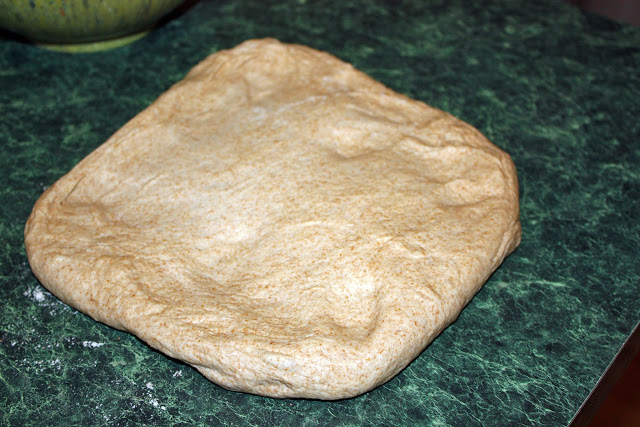
Remove the dough from the fridge and divide in half. Place one on your counter and the other back in the fridge for the time being. Lightly dust the counter with flour and roll the dough into a 15x11 inch rectangle. Position it so that the shorter edge is closest to you. Spread half of the chocolate filling onto the dough, leaving a ¾ inch border on all sides. Sprinkle with half of the pecans and half of the granulated sugar. Brush a little bit of water on the side that is furthest from you. Then, starting at the end closest to you, tightly roll up the dough, pinching to seal it shut once you reach the end. Place the log of dough on the counter so that seam side is down and one end is facing you.
Now time for the slightly tricky part. Use a serrated knife to cut off the ends on each side of the log of dough. Now, running the knife from end to end, cut the log in half, lengthwise. It helps to make long shallow cuts, repeatedly running the knife from top to bottom and gently separating the two sides. Once cut through, lay the two sides so they are both cut side up. Take the end that is furthest from you on the left half and place it on top of the end of the right half, gently pressing them together. Now “braid” the loaf by taking the right half (the one underneath) and placing in overtop the left half, and then doing this once more until the two bottom ends meet up and can be sealed together. It doesn’t have to be perfect so long as the filling of the cake is exposed at the top and both ends are somewhat secure. Lift the cake into the pan and loosely cover with a clean dishtowel. Repeat with the remaining dough and filling.
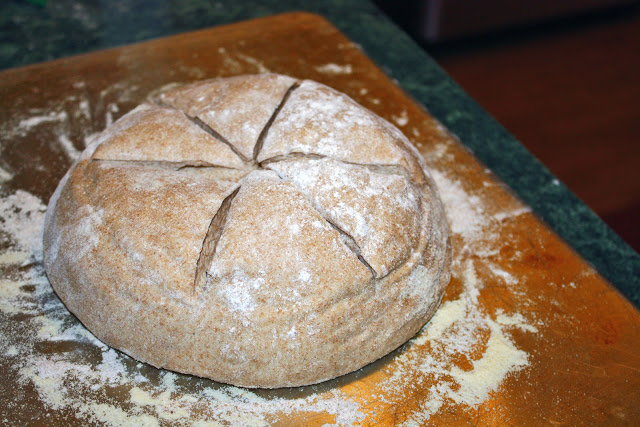
Preheat the oven to 375 degrees and while that heats let the loaves rise for 1-1.5 hours, until increased in size by about 20%. Place the two loaf pans in the oven and bake for 30-35 minutes until golden. While the cakes bake, make the syrup. Combine the water and sugar in a saucepan and bring to a boil. Once the sugar dissolves remove from the heat and let cool slightly. When the cakes are finished, place them on a cooling rack and immediately use a pastry brush to disperse the syrup over the cakes until all of the syrup is used up. It will seem like a lot, but will all eventually get soaked into the cake. After an hour remove the cakes from the pans and let cool completely before serving.