Spiced Crispy Chickpeas

It’s funny that now I have a fancy new office job (which is absolutely fab by the way) with a computer and a desk and all that, certain things in my life have become much more important than they ever were before. For instance, I now, for the first time since maybe middle school, have to keep careful track that my bedtime does not extend past 8:00 (and yes, it does make me feel old). I have now also become obsessed with traffic patterns. It is simply amazing to me how traffic can go from insignificant to absolute gridlock in a matter of minutes (generally in the time frame of around 4:46-4:49) and it becomes of absolute necessity to leave the office at precisely 4:30 to prevent an imminent doom of stop-and-go commuting. Has anyone also ever noticed how traffic really seems to have no reason for being, how the worst possible congestion can suddenly end as if 2/3 of the cars evaporated into thin air? And also how people feel a dire need to slow down and stare whenever a cop has someone pulled over, creating a jam large enough to prolong my drive by approximately 15 minutes? Oh, traffic…so perplexing.
But I think the one thing that has climbed near the top of the “aspects of my life of vital importance” list is snacks. When it gets to that moment when my eyes suddenly glaze over from three hours of staring at the computer screen, yet it’s still much to early to justify eating lunch, there is nothing better than a walk to the lunchroom for a snack break. Of course, it helps that my new employer provides a plethora of limitless free and healthy snacks and fresh fruit and bottomless Tazo tea and Starbucks coffee. Each day is like an adventure to see what kind of new snack made it into the selection. White Cheddar Pirate’s Booty? Sure! Potato chips fried in Avocado Oil. Oh yeah! And while I’m at it I’ll take a grapefruit with me for good measure.
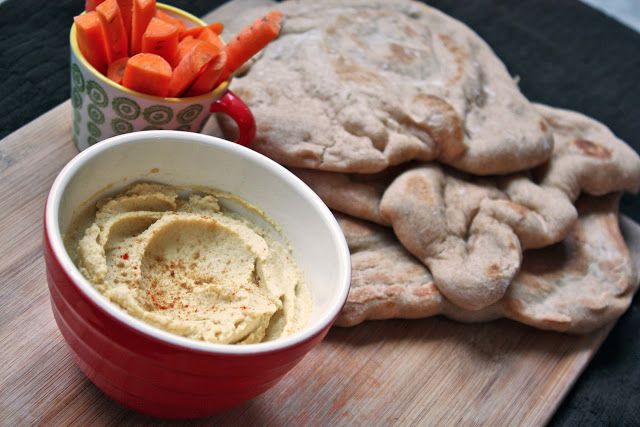
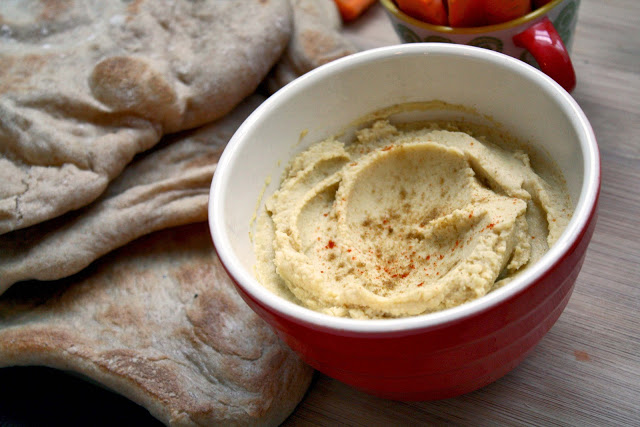
However, I have realized that my self-control will, at some point, need to reign in my newfound obsession for prepackaged snacks. I considered signing up for one of these subscription healthy snack boxes where you are sent a new selection of goodies every week. But then I realized that I can pretty much get the components of these things in the bulk section of many nearby grocery stores for much cheaper. And this led to the great epiphany that I should make my own snacks and trail mixes and granola bars so I could cater them to my tastes and know exactly what’s in them. Well, at least that’s the plan for now while the idea’s newness gives me the momentum to follow through. So, to start, I made use of about a 1½ cups of extra chickpeas I had from my latest batch of hummus and turned it into snack that could give potato chips a run for its money after all.
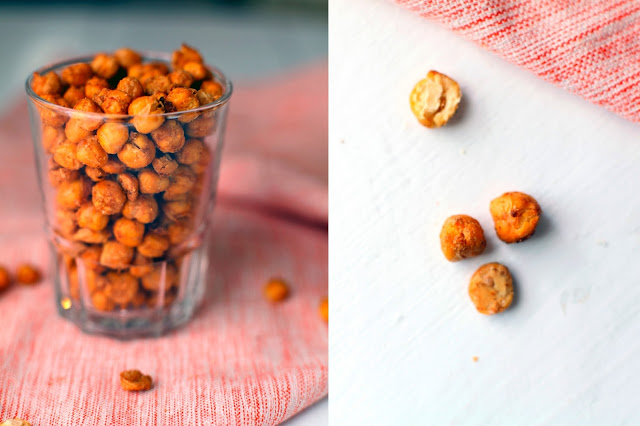

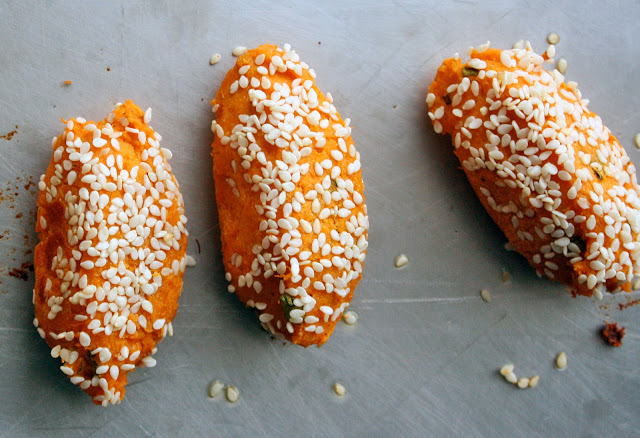
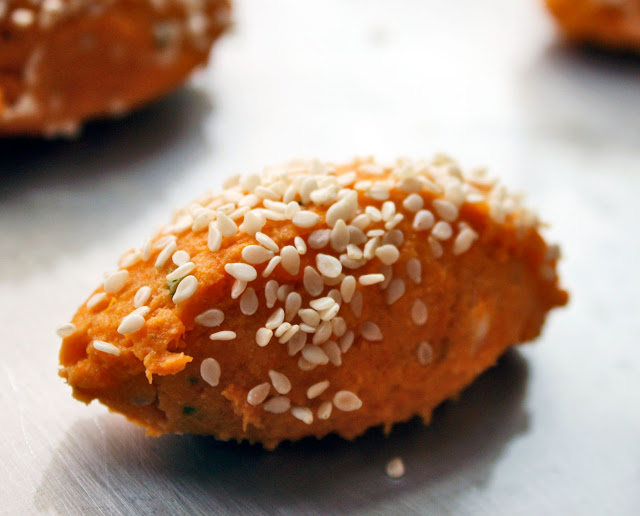
These are crispy chickpeas. They are nothing but chickpeas with a tad of oil and a lot of spices, dried out in the oven until crunchy and nutty. That’s it. Dead simple. It sounds so boring when you thing that its nothing but a shriveled, dried out bean but you must eliminate those thoughts. This may be a healthy, fiber and protein filled snack but, in this form, the chickpeas masquerade as the guilty pleasures from the vending machine. And they don’t have to necessarily be used own their own as mere snacks. They are amazing on salads and soups and curries and all sorts of dishes. You can mix them with other roasted nuts, seeds, and dried fruits for trail mix or serve them on a cheese and charcuterie platter. And you can feel free to play around with the spices. Make a sweet cinnamon sugar version, or Texas bbq, parmesan rosemary, or even curry. You can pretty much replicate any snack flavor out there!
Do you sense a bit of excitement here?
Yes, I do realize I’m probably the last person to catch on to this trend (per usual) but hey, better late than never, right? I’m afraid to say that there may be a chickpea epidemic about to erupt in my house though I suppose there could be many many worse things than that.
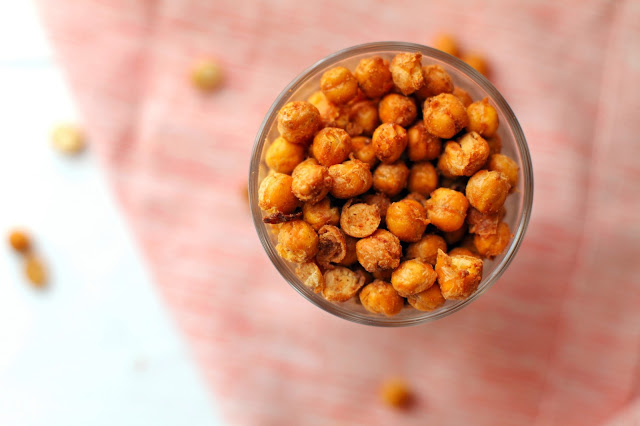
Spiced Crispy Chickpeas
Ingredients
1 15-oz can chickpeas, drained, rinsed, and air-dried on a clean towel (you could also use 1½ cups fresh cooked chickpeas, if you happen to have them available)
1 Tbs. olive oil
¼ tsp. cumin
¼ tsp. coriander
¼ tsp. ground ginger
¼ tsp. smoked paprika
½ tsp. sea salt
Preheat the oven to 425 degrees. Toss the dry chickpeas with the olive oil and the spices until they are coated evenly. Spread them out a baking sheet. Roast in the oven for 30-35 minutes, shaking the pan periodically, until the chickpeas are lightly browned and crispy all the way through (to test for crispiness, remove a few from the oven and let them cool for a moment before tasting). Let them cool completely before storing in an airtight container. But really, they won’t last that long.